Tuesday, March 27, 2012

There's a Hole in My Helmet!... Five Actually

Well, I finally sucked it up over the weekend and decided to get to cutting! I was really nervous all throughout because I knew if I were to cut incorrectly I would be screwed and I have put a lot of work into this so far. I hate that I am unable to show action shots or anything throughout the process. Its just too difficult to hold the camera with one hand and take pics while doing everything else with only the other hand. All that being said, here is where I got to

I had some old foam laying around that I picked up from work (we were going to through it away and I knew I could find a use for it) so I put it inside the helmet for a little temporary padding.
And then, I put it on
Now if only I had money to buy some paint and primer =P oh well, first of the month is almost here!

Friday, March 23, 2012

Mix, spread, sand, repeat...


Stayed up late last night working on the helmet and shin, and just hanging out in the garage after everyone else was asleep anyway. I spoke with my neighbor across the street about some tips on how to properly go about the Bondo’ing process and he gave me some good pointers:

-Don’t make a lot at a time (You would think that would be obvious...)
-Apply only what you need (Minimal amounts) so you don’t have to sand as much
-If you have little holes or gaps, take a rubber spatula or a credit card with a little give and press a little more Bondo into it

(Thanks Dan!) 

After that he offered me his belt sander and a couple of other tools, but I’ll see if I end up needing them or not. The Dremel it pretty cool for sanding down thick areas in little patches, but to go over the whole thing was a pain. Obviously using less Bondo the first time around would have saved be a lot of sanding =P

Here are some updated shots of the helmet!
And I also started Rondo’ing my left shin piece. Unfortunately there is a spot in the bad that popped out when I wasn’t looking so it is a little uneven. Not a real big deal, but I will have to do a little artistic carving back there to fix it.
All in all a good night of work. I will probably sand down the helmet tonight and get on what should hopefully be the last round of Bondo!

Monday, March 19, 2012

Better Hop To It!

Well, I decided that I had better get a move on since I have only 2 weeks (apparently) to finish my helmet! I got out the Bondo and started pasting on a layer so that I can sand it down once it dries. Hopefully tomorrow... I didn't quite get the entire thing covered in a layer and I unfortunately wasted some because I made too big of a batch, but I got most of it covered and I think it is gonna look really good once it is sanded down!
I also busted out my Halo3 collectors helmet holder (I had to make it a little taller) and used it to hold the helmet up.

Let Me Check My Schedule...

So I was talking to a coworker today who asked me how the suit was going and I told him it was coming along well. He asked me if I would have it done in time for Halloween and I said "Oh yeah, totally!"... I got to thinking, I have no piece completely finished. So I need a game plan, a schedule, something to stick to better than this whole "eh, I'll get around to it and it will all work out" attitude. so, from today I have 225 days to get this thing done. I would like to have some time to get it done comfortably before "Haloween" (get it, Halo-ween...) so we will say I have 210 days from today. There are also 15 pieces to this suit. that means that I have roughly 14 days, or two weeks, per piece to finish 100% done... guess what I'm doing tonight...

Friday, March 16, 2012

Oh, Hellz Yeah!

Finished adding Rondo to my helmet the night before last and last night I ground down the sides so I could fit my head in. It totally still smelled a bit so I couldn't keep it on long... but I did get a photo before I passed out!
This makes me happy.

Wednesday, March 14, 2012

I See the Light!... The One Shining Through the Helmet, Not the End of the Project...

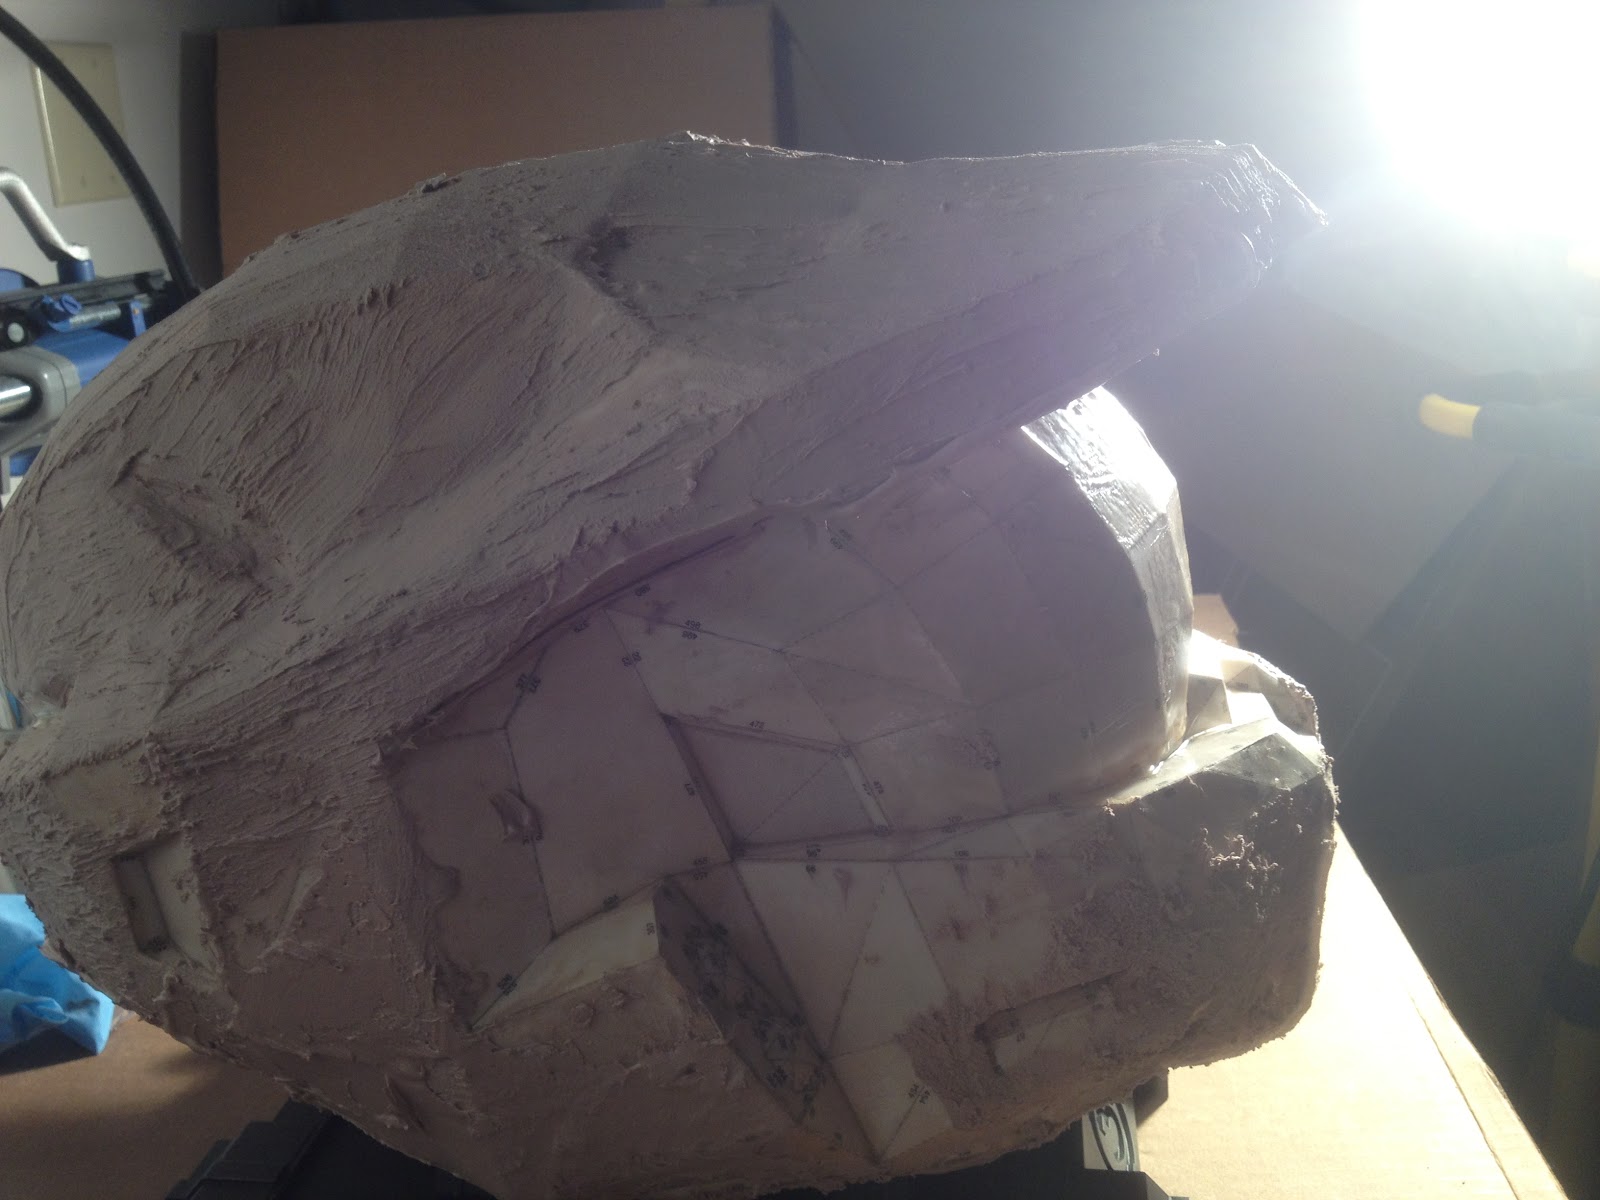
Okay, so I got some more work done the other night. Pretty much just getting more Rondo set up, but I though I would post what I thought to be a good tip to any others of you that, like me, don't know exactly what your doing before you do it...

I was trying to tell how I could find the thin or weak spots in the Rondo when I help my helmet up to the light and realized that the light shines through the thin spots! Glory Hallelujah, I see the Light! I was so glad I figured that out because it saved me a lot of time for further down the road...

Like I said, it is rather simple. Hold the piece in front of a bright light
Heres what the inside looked like in front of the light
You can see the thin areas light up where the light glows brighter than in the other areas.

I still haven't put it on with the Rondo in it because, one, it still smells and I would pass out in about a minute. Two, the Rondo closed off the opening a little so I am going to have to sand it down to fit my big head in there...

More to come!

Sunday, March 11, 2012

Order.... ORDER!!!

Spent literally the entire weekend cleaning up my garage. It got to the point that (in our 3-car garage) we couldn't even pull one can into the garage because there was so much stuff everywhere, and it wasn't just all over the floor... it went upward. Unfortunately I didn't take any before pics :( but I did take a shot of all my stuff organized on my brand new shelf! And I also have a nice new clean work space to work on everything.
Way better than everything sitting on the floor waiting to be trampled on "by accident"... =) And if you really want to see how the garage used to look you can get an idea from the background of a lot of the other pics...

I also was able to get a little more Rondo work done, but It doesn't really look any different from the last set of photos so I didn't take any more. I think there are just a few more week spots to cover in so I should be done Rondo'ing soon! Then I can move on to the Bondo and sanding and get this helmet done!